Thread Painting: Tips and Techniques
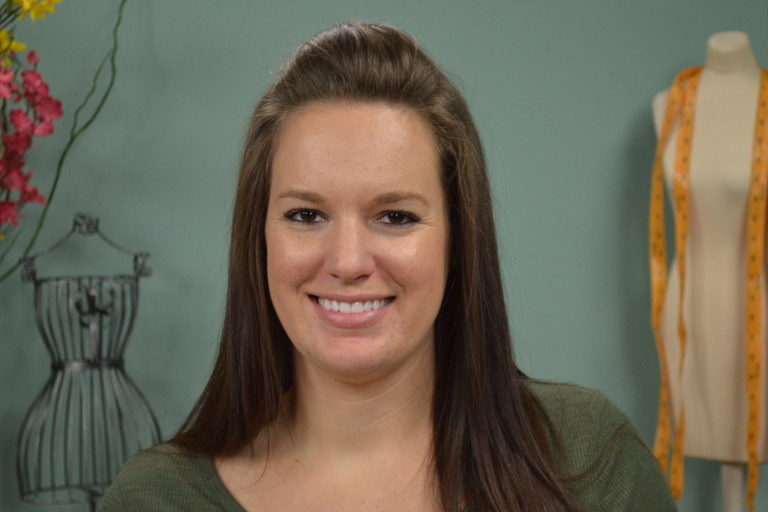
Ashley HoughThread painting is a great way to add extra color to a project using free motion stitching. In this video, Ashley Hough demonstrates this creative quilting technique.
Thread Painting: Fabric and Machine Preparation and Stitching
Whether you are stitching a small wall hanging project or quilting a bed size quilt-thread painting can be used to add extra color and design. Ashley explains what thread painting is and how it is done. Before you begin stitching, you need a design. Ashley explains that this can either be one drawn by hand onto the fabric or traced onto the fabric. She shows an example of a design that can be traced and shares where it was found and why it is a good choice of drawing for this technique.
Ashley then explains what changes need to be made to the machine for stitching, which include changing out the presser feet and lowering the feed dogs on the machine to allow for easier back and forth and side to side movements. She also explains that it is a good idea to match the bobbin thread with the needle thread in case there are any tension issues while stitching. Ashley then explains how to prepare the fabric for stitching, which includes adding a stabilizer to the wrong side of the fabric. There are several different types and weights of stabilizer to choose from and the type you choose can depend on your fabric and design selection.
Finally, Ashley demonstrates how to begin thread painting on a design, giving several free motion quilting tips along the way. She explains that the length of stitches to use and the direction to place your stitches depends on your design. Once you’ve mastered the art of thread painting, check out more tutorials for more creative design ideas to add to your next quilting project.
