Finishing a Quilt: The Pillowcase Technique
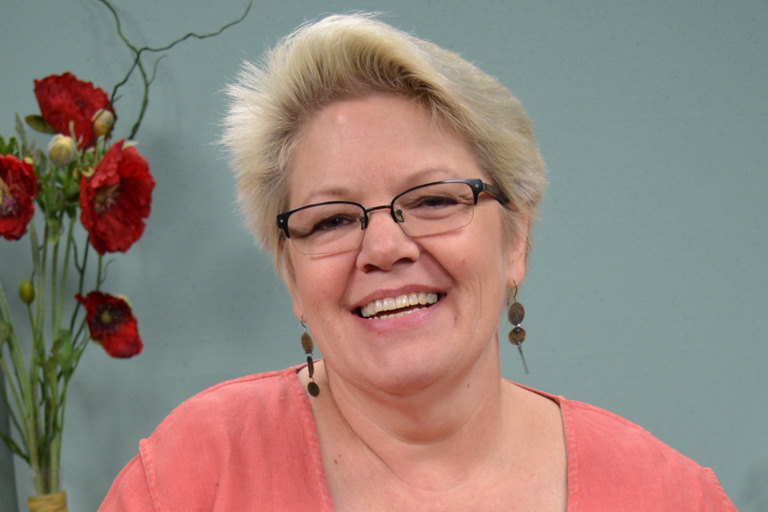
Heather ThomasQuilt finishing can be one of the most tedious parts of making a quilt, depending on what kind of binding you are making and how you are attaching it. Heather Thomas shows you a different way to finish a quilt that doesn’t require a binding and saves you lots of time.
Quilt Preparation and Finishing
For this type of quilt finishing, known as pillowcase finishing, Heather shows how to layer the backing, batting, and quilt top to prepare it for stitching. The layering order for this quilt-finishing technique is different than the layering order when adding a traditional binding. While she is working on a small sample-size quilt for this tutorial, she still recommends using this technique on smaller quilts only. Once the layers are pinned in place, Heather discusses several different ways they can be stitched together. She demonstrates how to do a straight edge, a tight wavy edge, and a loose wavy edge. While stitching, she gives tips on how to create the curves as well as the best way to start and stop in the corners. Once the edges have been stitched, she shows how to trim away the excess and then turn the quilt right-side out and press.
Quilting
Once the edges have been finished, Heather talks about how the piece can be quilted. Unlike the quilting in other quilt-binding videos, some quilting does not work well when a piece has been finished with pillowcase finishing. Heather talks about different types of quilting you both can and cannot do as well as shows an example quilt that has been quilted and finished. Heather also talks about other stitching, like topstitching, that can be done on quilts using this quilt-finishing method that makes it appear as if the edge has a binding.
