Using Facings Instead of Binding on Your Quilts
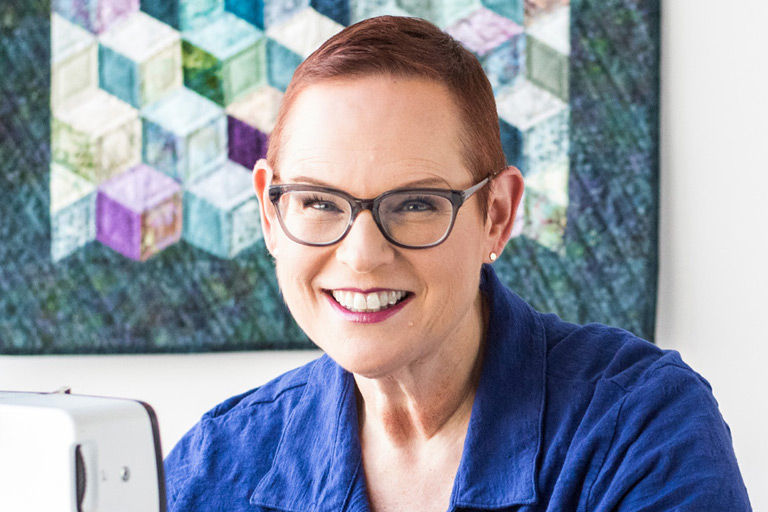
Kelly AshtonQuilters have various choices on how to finish the outer edge of their quilt, and traditional French fold binding isn’t always the look or style desired. Join our instructor Kelly Ashton as she explains when to use a facing on a quilt as its edge finish. This innovative solution is perfect for a clean, straightforward, modern twist on finishing a project.
Kelly will walk you through the calculation process to determine the amount of yardage needed and the number of fabric strips that need to be cut to apply a facing to a quilt. She shows the diagonal seam method used to join the strips for the quilt facing. She will then teach how to determine the lengths required for each side. A pre-pressing of one long edge along each quilt facing is done, preparing it for hand-stitching in the final step. The placement of the quilt facing, the joining of the facings strip to the quilt, and the pressing and under-stitching techniques are all demonstrated in detail so that it is easy to follow.
Turning the quilt facing toward the back of the project is also shown. Kelly discusses pressing this portion if you have to piece along the outer edge vs. a simple straight fabric border. The last step she presents is the corner finish. The short facings are covered by those that extend off the project. Kelly demonstrates how to turn those edges to reduce bulk by trimming the under-layer and gently angling the fold toward the center of the quilt back. Hand-stitching completes the facing process, remembering to stitch out to each corner to secure all the folded edges of the quilt. A facing finished quilt leaves a flatter, smoother outer edge with a more modern appearance.
For more videos on how to pillowcase finish the outer edge of a quilt or more on traditional binding techniques, follow the links given here.
