How to Create a Film Strip Quilt
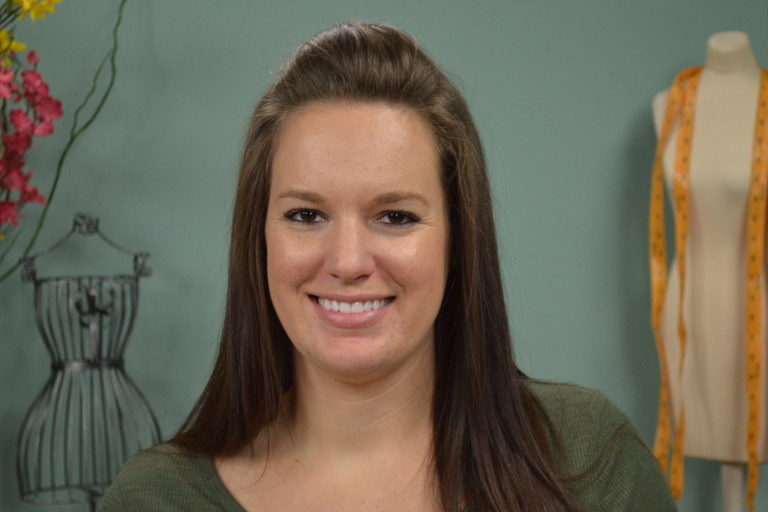
Ashley HoughA film strip quilt can be a fun way to showcase photos printed directly onto fabric. Ashley Hough shows you how to make this fun project while also sharing tips on how to print photos onto fabric.
Supplies
For this project you will need black and white fabric, or something similar, to create the film strip look, as well as fabric for printing your photos. Ashley explains that photos can be printed onto fabric by taping pieces of fabric to printer paper and then running it through an inkjet printer, or by using specific fabric printer paper.
Ashley shows several different brands of fabric printer paper and explains how they differ and what features you may want to look for when selecting your paper. She also explains the importance of reading and following the instructions on each paper, especially for steps such as heat setting- which can be used to make the photos permanent. Ashley then shows what can happen to a photo if it is not heat set to make the ink permanent.
Construction
After you have printed your photos onto fabric Ashley shows how to construct the film strip quilt. She begins by explaining what size she cut out her photos and points out that your photos can be cut out at different sizes, depending on how large you print them. She then shows how to sew strips of black fabric between the photos to create one long strip.
Ashley explains that she is making short film strip quilts that will become wall hangings but that you can make much longer strips and turn them into a full size quilt. She then shows how to add black strips of fabric on the top and bottom of the photo strips, how to make and utilize strip sets in order to make the small alternating white and black sections and how to finish it off with border strips of black fabric. For other fun quilting projects, check out our quilting project videos!
