How to Create a Baby Memory Quilt
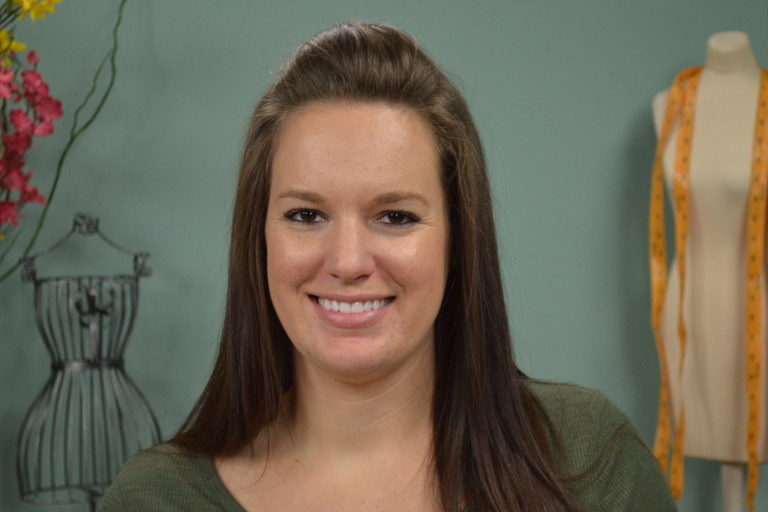
Ashley HoughOnce a little one has outgrown old clothes, turn them into something new by making them into a quilt. Ashley shares a fun idea on how to turn outgrown baby onesies into a baby quilt. This same idea can also be used to make a baby memory quilt.
Preparation
The most important part of creating a baby memory quilt using old onesies is preparing the clothing. Ashley first shows what kinds of clothing are best for this technique and ones that don’t work as well, which including clothes that have large bulky designs next to or in a seamline. From there Ashley shows how to begin cutting apart the clothing in order to have the most possible workable fabric. She begins by cutting the front and back apart so that the pieces can lay flat on a work surface, and then cuts away any areas that are unnecessary.
Once all of the clothing that is going to be used in the baby memory quilt has been roughly cut apart, Ashley shows how to add interfacing to the wrong side of the fabric. This is an important step in a newborn baby quilt so that the knit or jersey fabric of the baby onesies does not stretch or distort when pieced into the quilt top. After interfacing is applied, Ashley shows how to cut the roughly cut clothing pieces down into usable squares or rectangles.
Depending on the design you choose to use you can either cut the clothing into specific sizes or cut them into random sizes and then lay out a design. Ashley explains that when working with such small articles of clothing it is easiest to cut out random sizes and then lay them out with other fabric to create the baby memory quilt. Watch more of our tutorials on baby quilts and more project quilt ideas.
