Caring for Your Self-Healing Cutting Mat
Kelly HansonI love my self-healing cutting mat. It is probably one of my best friends in the sewing room.
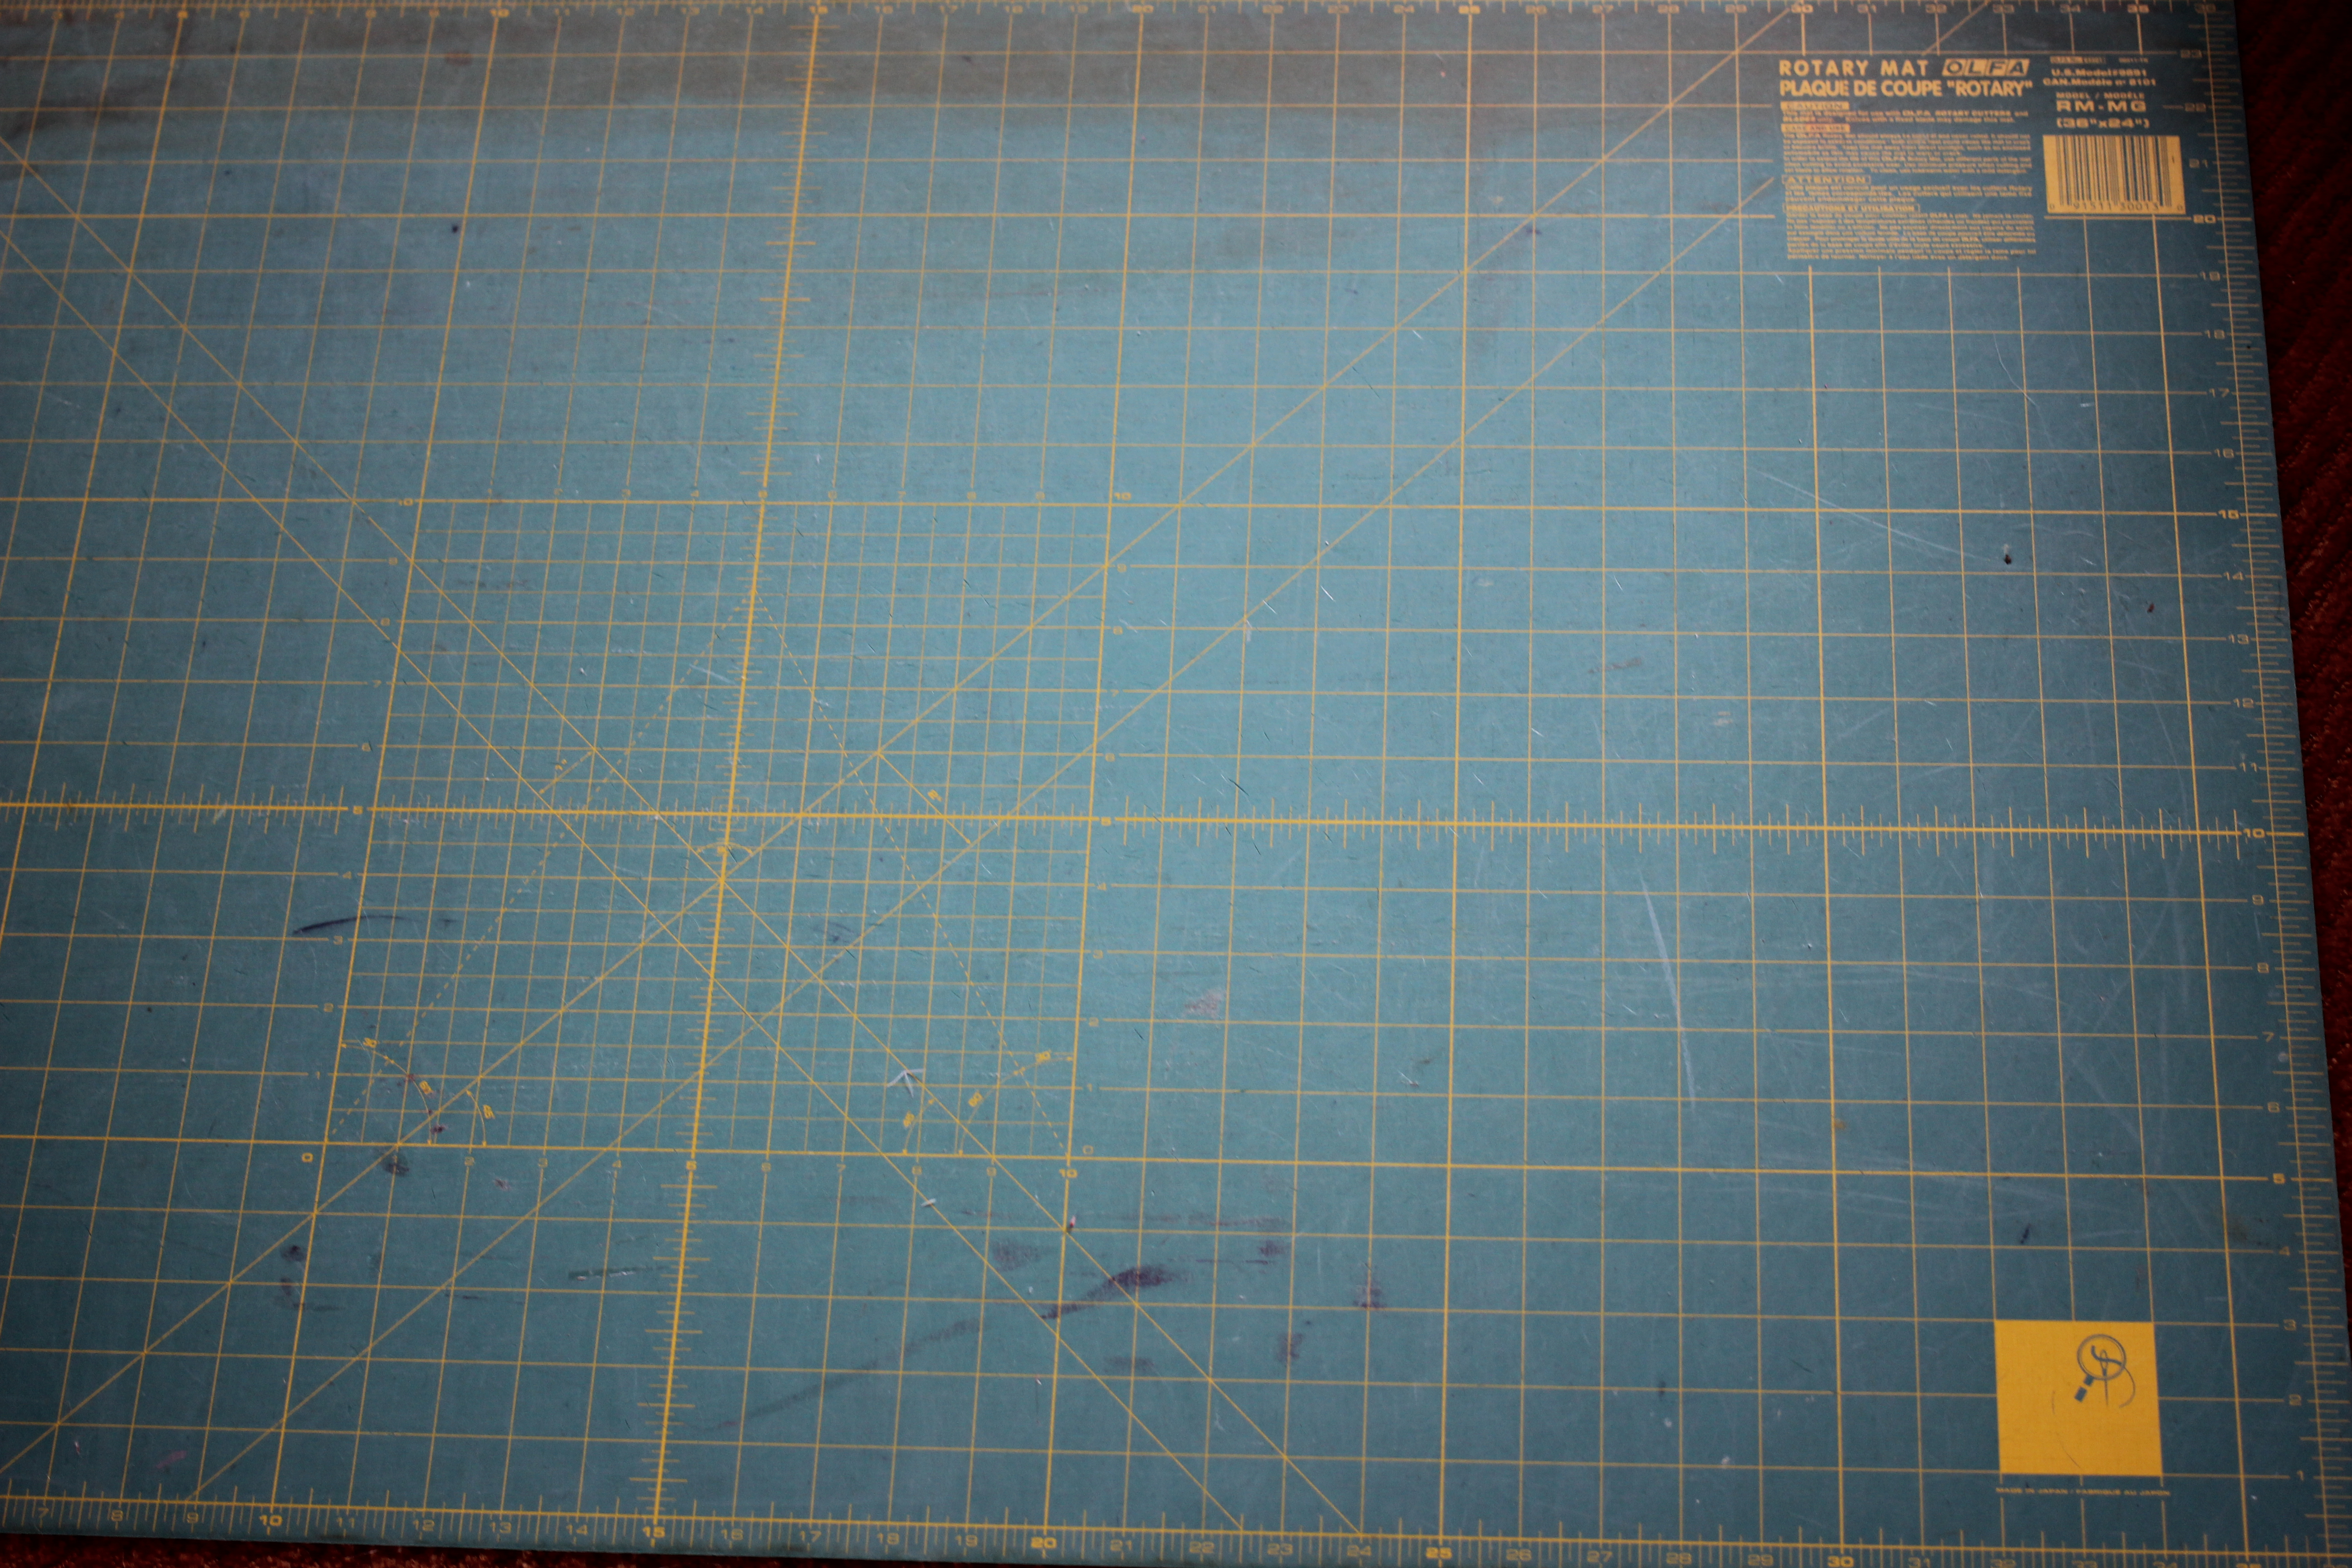
But, did you know that your mat needs some regular care in order to keep it in tip-top shape? Otherwise, it will begin to look like my old mat here. Eek!
But, don’t worry! Caring for your self-healing cutting mat is easy.
Cleaning Your Mat
1. Every now and then you will want to take a little scrubber (like the kind used for dishes) and brush off your mat to release any loose threads that get caught. You don’t need to rub too hard, just a light touch is sufficient.
2. Once you have the excess loose threads and fibers removed, it’s time to moisturize your mat and bring that surface back to life.
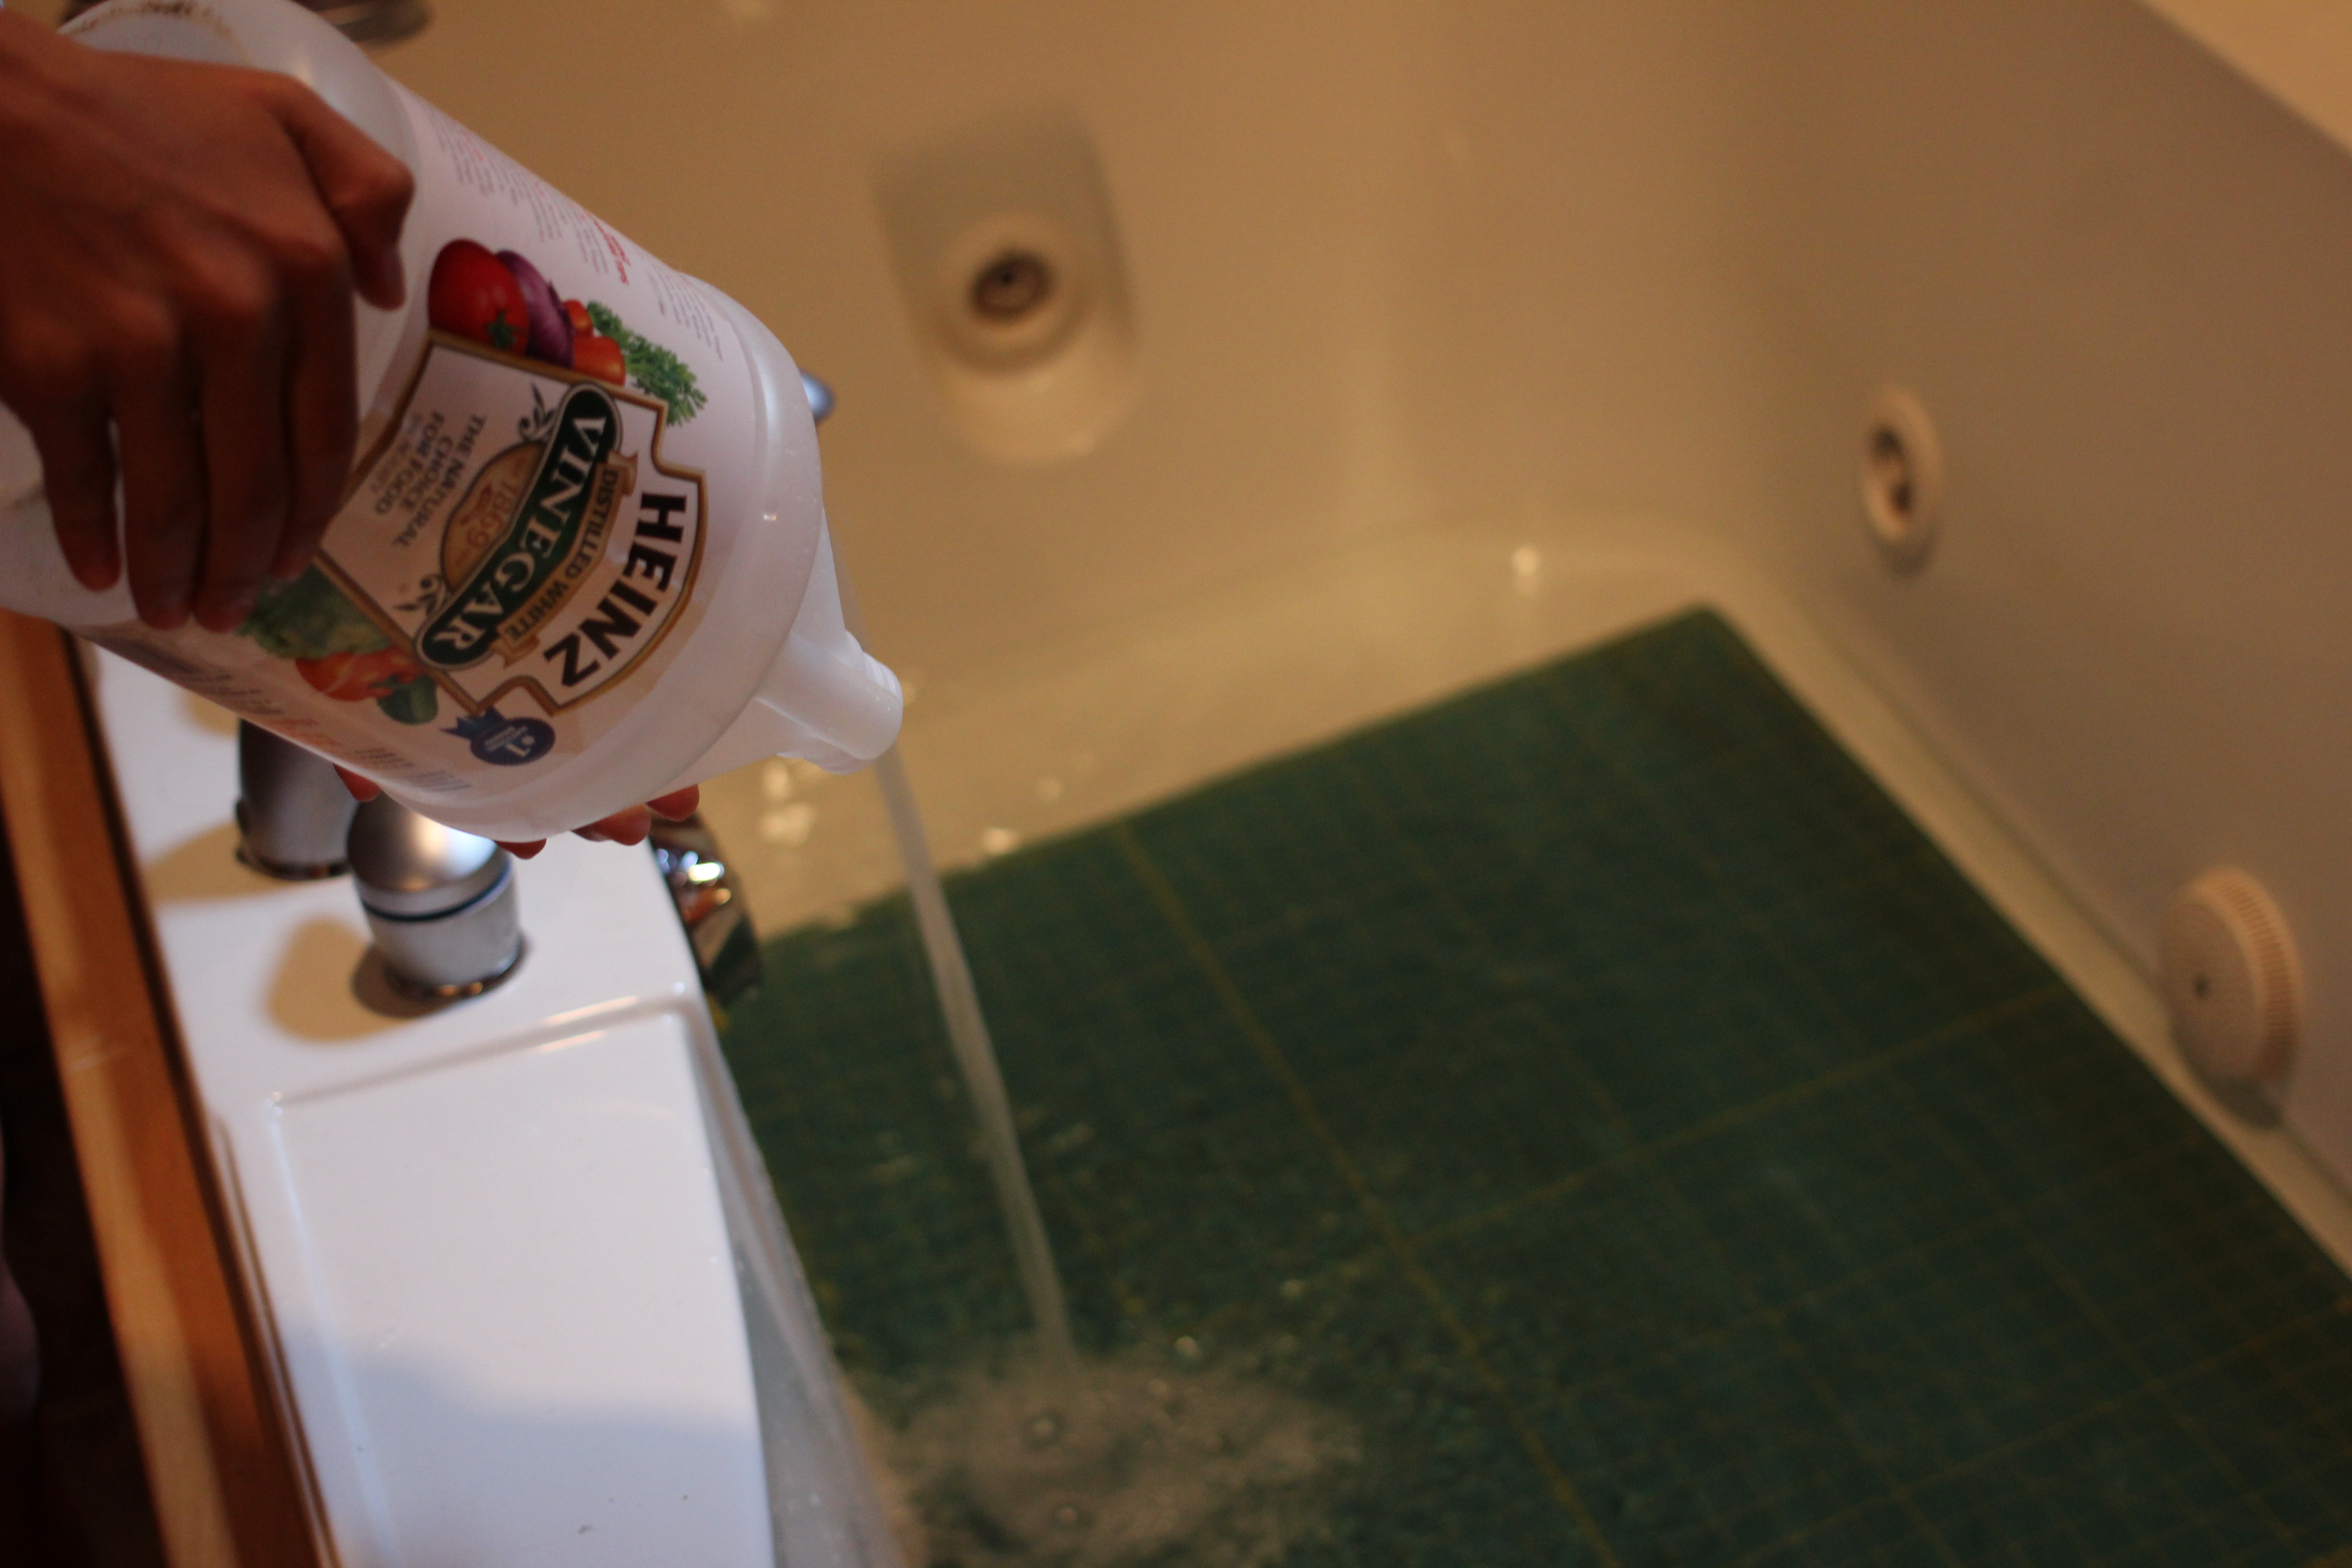
A quick bath in a solution of vinegar and dish soap will do the trick. Plus, it should also remove any surface stains on the mat. (Except for ink stains – those are a little tougher.)
To soak your mat, place it in a bathtub or container that is large enough so your mat can lie flat. Add a solution of ¼ cup white vinegar per gallon of cool water and let it soak for 15 to 20 minutes. Make sure the water is cool! Warm or hot water can warp your mat.
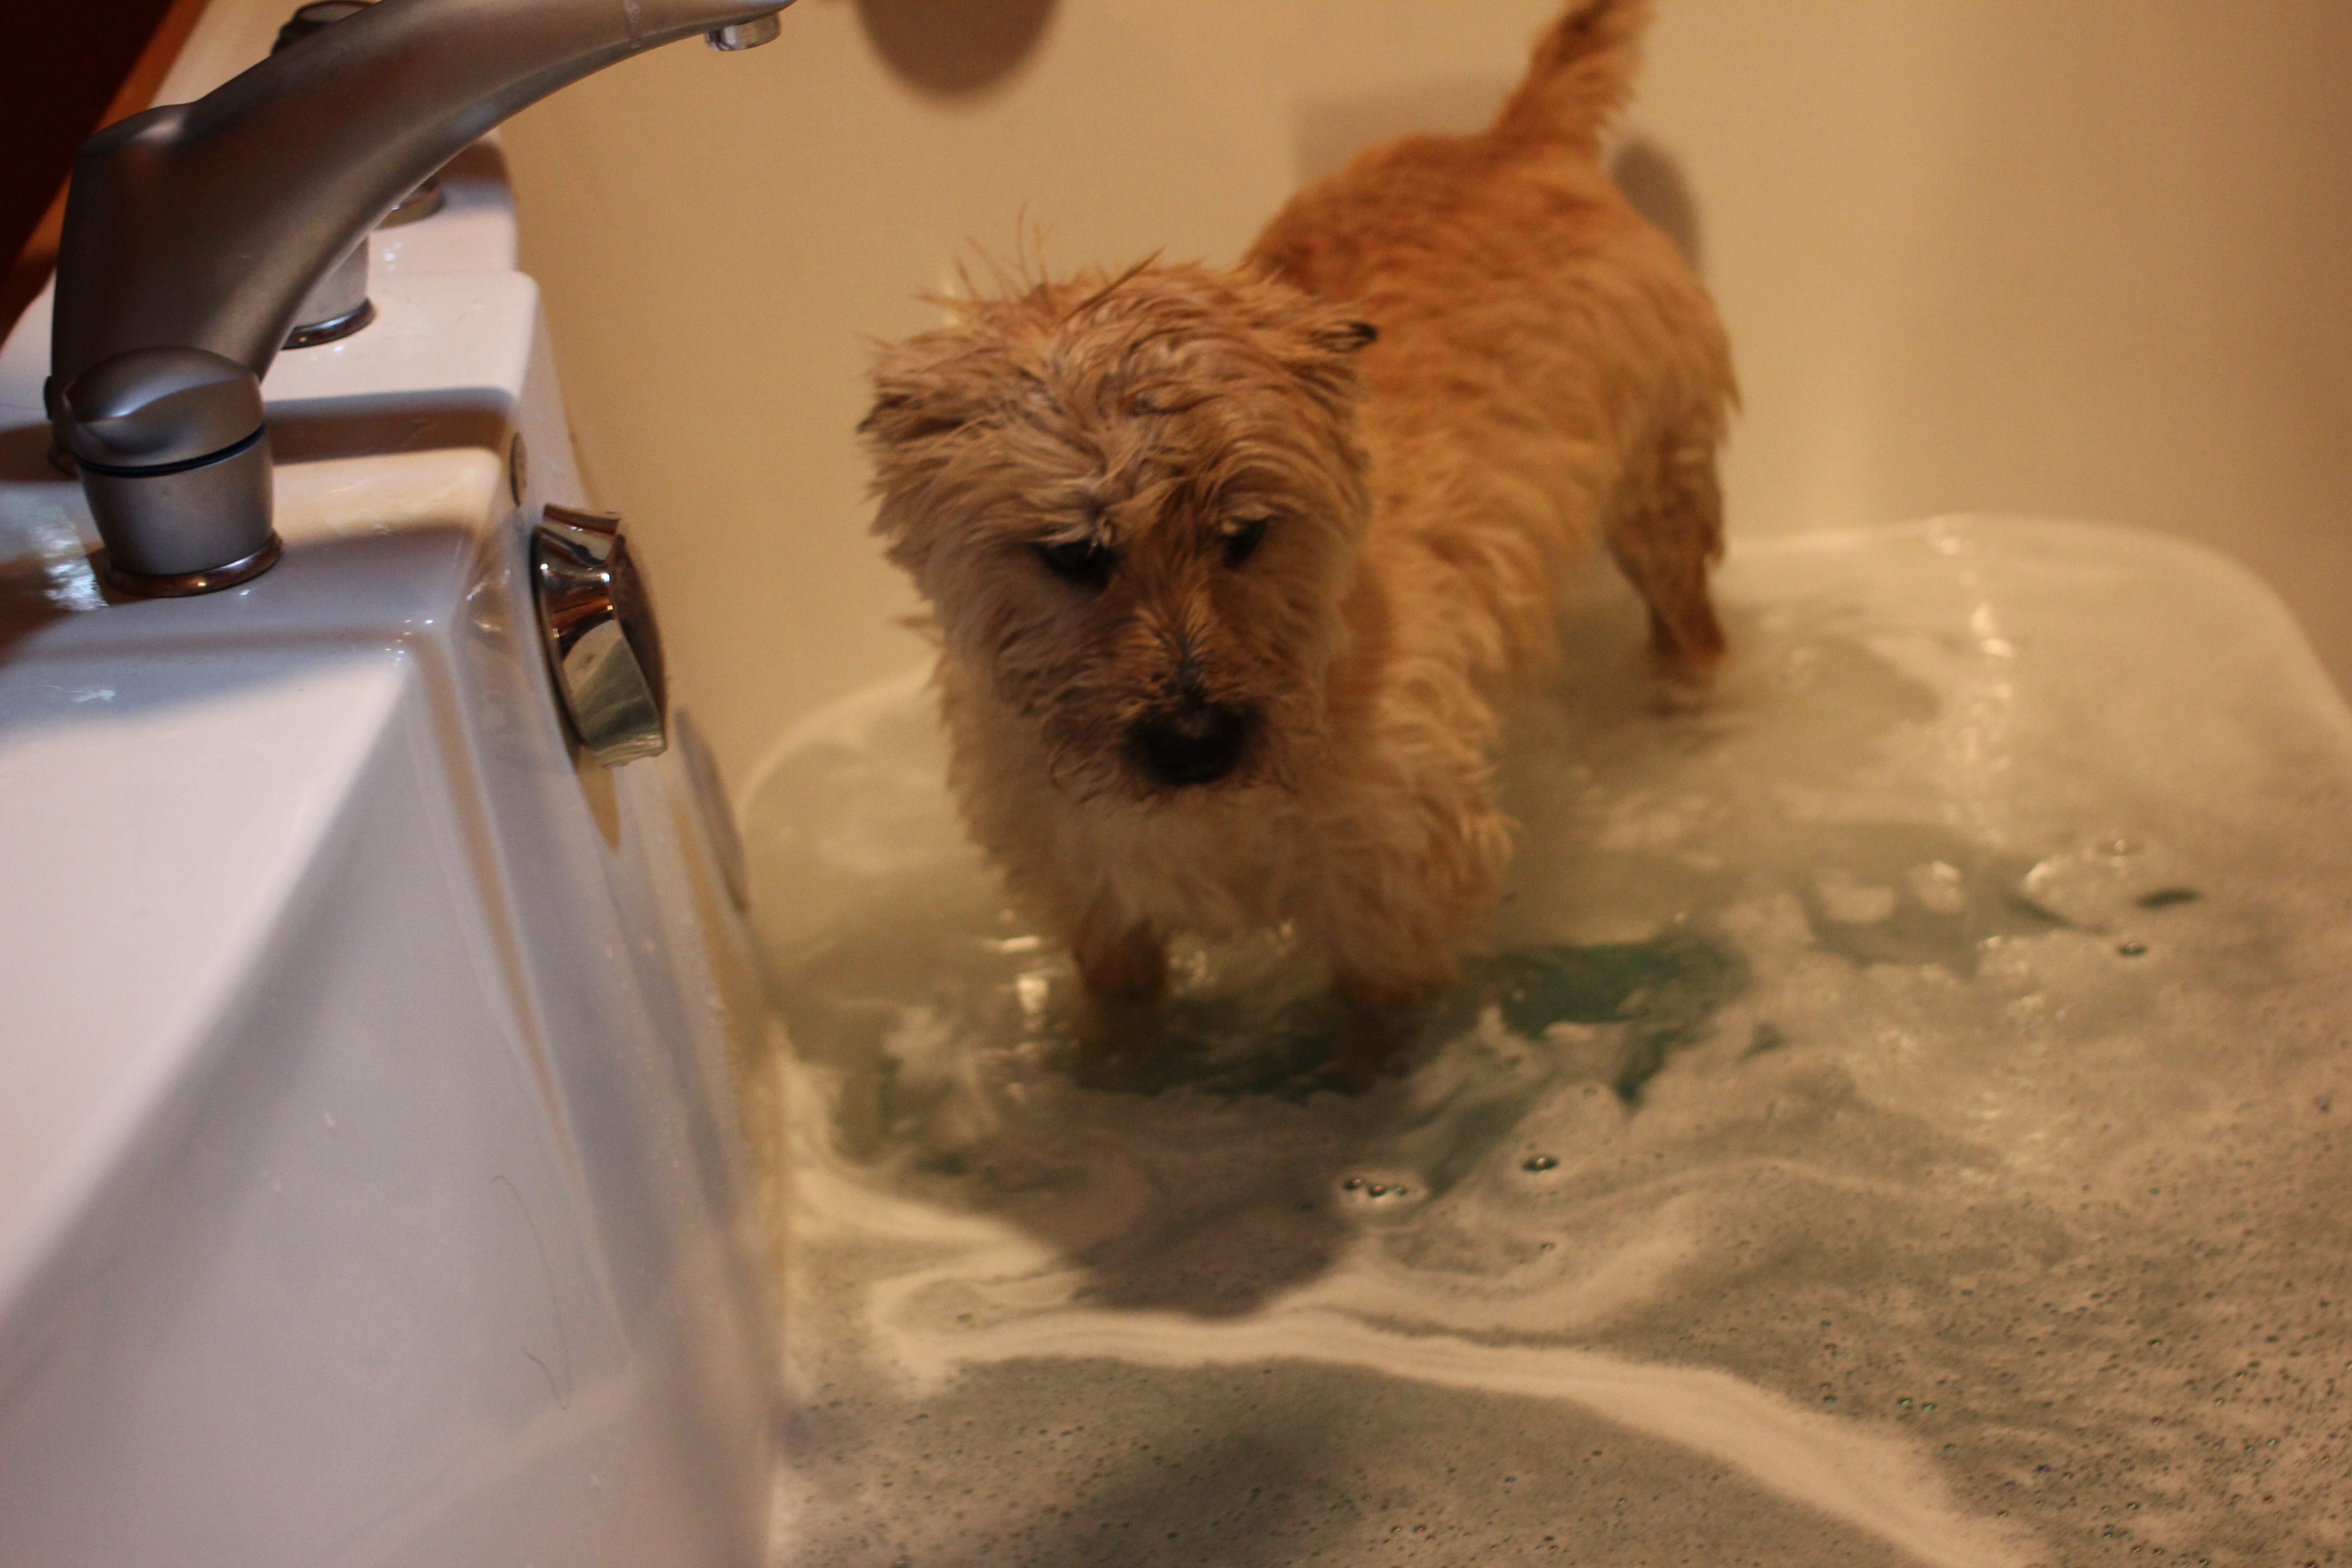
3. Now add a bit of mild dish soap and take another soft brush, gently scrubbing the surface of your mat. This will get any straggler fibers that may be trapped in the cuts on your mat and prevent it from self-healing. (Note: you’ll have to keep an eye out for any hitchhikers who may decide to join your mat bath. Baxter thought he needed a soak too.)
This special solution will absorb into your self-healing mat and make it nice and supple again.
4. You can dry the mat with a cotton towel or let it air dry flat. Just make sure it’s flat too – you don’t want it to warp as it dries.
That’s it!
Easy. Just remember, keeping your mat clean, moist, flat, and away from excess heat will preserve it for years to come. Happy quilting!
Photos by Author


My mat is 32 x 55 and at 83 it would be very difficult to get it into a tub and clean it. Any way I can clean it while it is sitting on the cutting table?
There are at least 2 typical mat plastics: the green (e.g. Olfa) or the gray (e.g. Fiskars) and the translucent white(often very large table mats). Does this apply equally to both types? This is such an unexplored area of not-so-common knowledge. Thanks!!
Does the self healing mat have to lie flat to soak in the tub? I don’t have a tub wide enough for that. Thanks!