3D Pinwheel Quilt Block
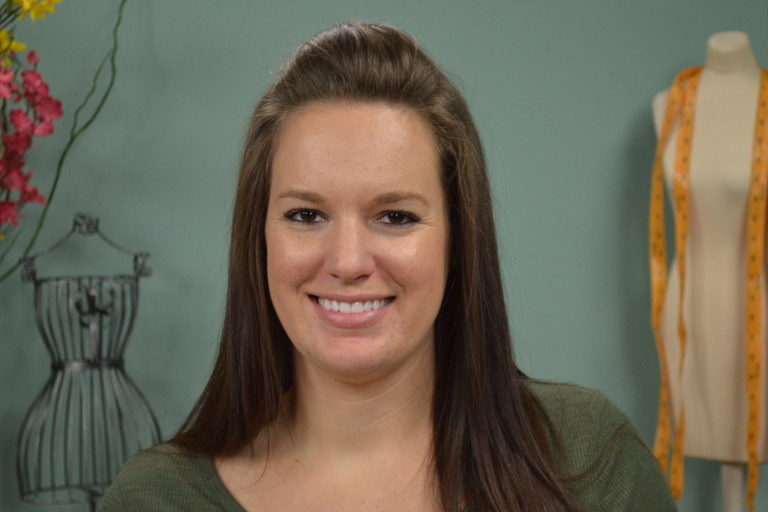
Ashley HoughMaking three dimensional quilt blocks is a great way to add extra visual interest to your next quilt project. Ashley Hough shows you how to take a common pinwheel quilt block and make it into a fun 3D version.
Making a 3D Pinwheel Quilt Block
Before you can make the 3D pinwheel block, you must first understand the basic construction methods needed for making a regular pinwheel quilt block. Ashley explains what this is and shows how the block would come together. Next, Ashley shows what fabric is needed for making the 3D pinwheel. Because there are extra pieces added to the block in order to make it three dimensional, and all of those pieces need to have finished folded edges in order to keep all raw edges and wrong sides of the fabric hidden- extra fabric is needed.
Using the method shown in this tutorial for making a 3D pinwheel block, you will need four squares of background fabric and four squares of pinwheel fabric. Ashley explains that this block can be made in any size desired, so while the size of the block isn’t necessarily important, it is important that all of the eight squares are the same size. She then shows how to fold and press the pinwheel squares to create the finished edge. The folded squares are then arranged onto the background squares and folded again to make the pinwheel shape.
Next Ashley explains how to know which way to fold the pinwheel corners in order to create the correct 3D pinwheel block shape. She then shows how to finish the block by stitching the squares together into pairs and then stitching the pairs together. Once you learn how to make 3D pinwheel blocks, have more fun with the common pinwheel block and learn how to make a disappearing pinwheel block.
