When we had moved 8 years ago I thought it was a brilliant idea to separate all of my children’s possessions into individual containers. That way when they left home, they could just take them with. Wrong! Not only did they not take the totes then, they have no interest in taking them ever! I had saved homework from every grade, plus class photos, toys, baby blankets – just about anything I was sentimental about.
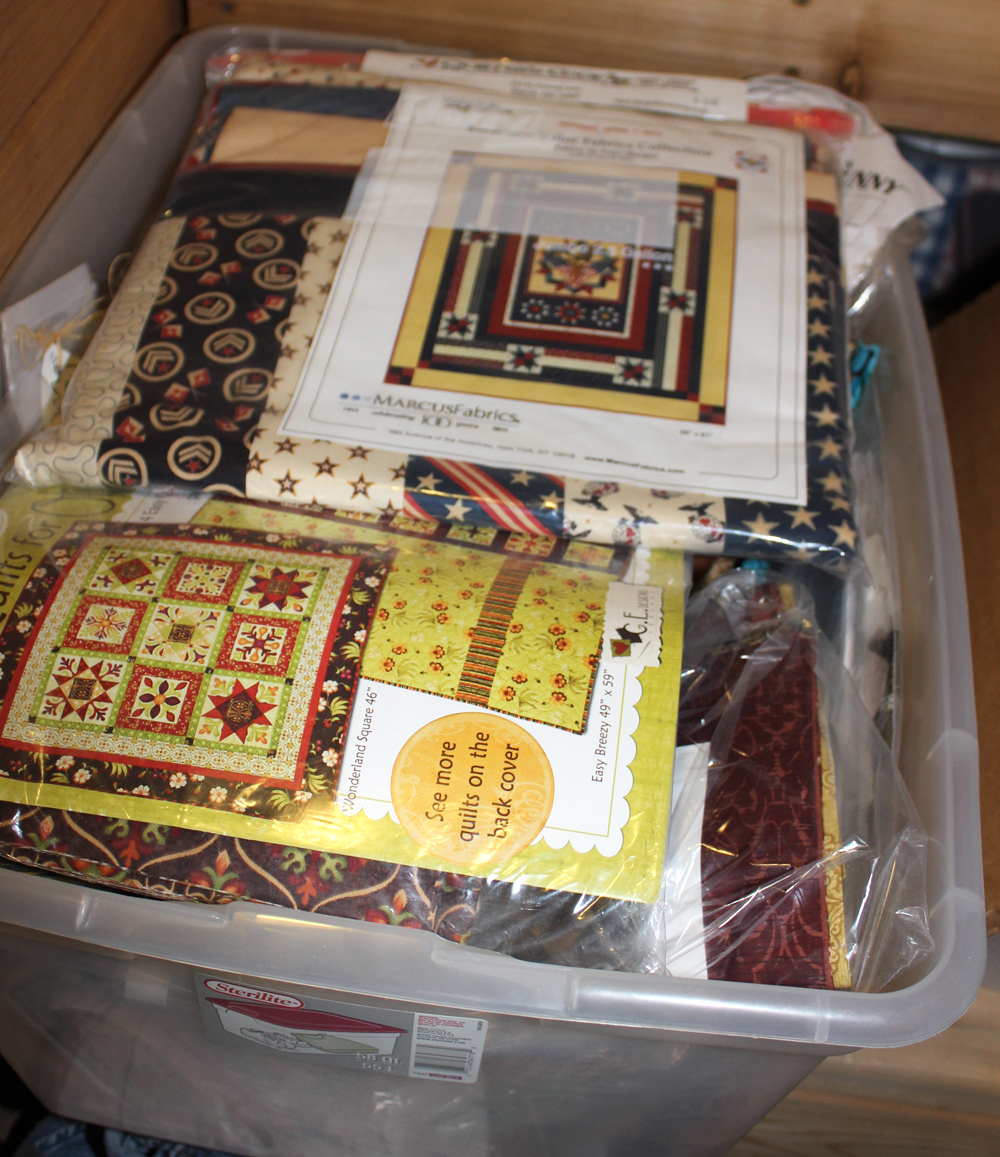 You’re probably wondering how this fits into quilting and organizing your sewing room. Well, I was rummaging through my inventory of well-marked containers (thinking it was time to start sneaking them into the kids’ homes) when I came across one marked “kits.” I thought I must have mismarked this one, mistakenly writing a “t” instead of a “d” for “kids.” I opened it up and to my amazement found a whole stash of quilting kits! It wasn’t kid stuff after all, but rather some of my most treasured quilting possessions! So treasured I didn’t even realize they were missing…
It was amazing! I felt like it was my birthday; all of these wonderful kits were as new to me as the day I purchased them. It was quite clear though that this was not a great method for storing all these valuable kits and fabrics. My husband is known for cleaning out boxes and containers without ever looking in them. His theory is, “If you haven’t missed it, it isn’t of value.” When stored in solid-colored containers that don’t easily show the contents, I risk having them sold at garage sales, donated, or simply thrown away. One of my friends had her quilting wares accidentally donated to a local charity, and my dear aunt had her treasures accidentally thrown into a dumpster. (Including finished quilt tops, numerous kits, and a sewing machine – could you imagine!)
Moral of the story: when storing kits, finished quilt tops and UFOs (unfinished objects), aim to keep them visible so you don’t forget about them (or accidentally throw them away!). Here are some of my favorite tips and methods for storage.
Laundry Hangers
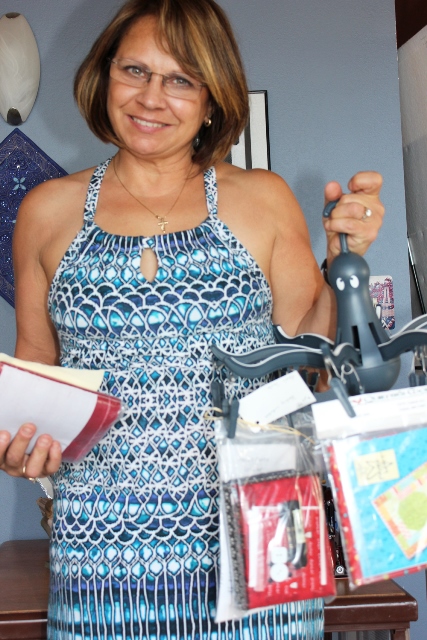
Those circular laundry hangers that fold up and have clothes pins on each end are great for hanging smaller items like kits. It keeps them out in the open, visible, and organized. I went out and purchased a cute one that looked like an octopus from IKEA, but soon found this one wasn’t strong enough to hold more than a few kits at a time no matter how many times I tried. I ended up giving it to my daughter to hang baby clothes on. Oh well.
Decorative Baskets
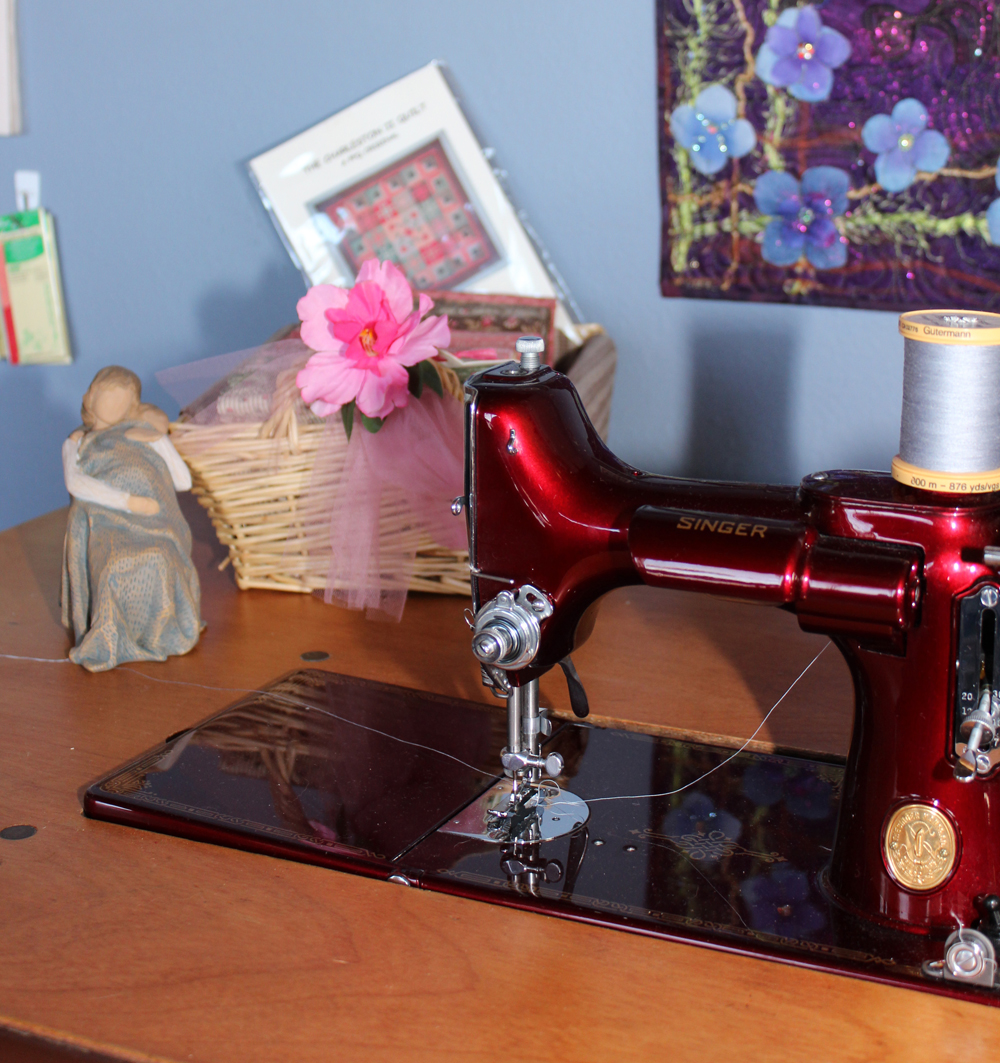
Another fun way to store kits is to keep them in decorative baskets. They add a pretty touch to the sewing room and allow you to easily alternate the kits you keep within arm’s reach. As I work on one kit, I replace the basket with a new kit and keep cycling through. This has been one of my favorite ideas; it adds color to my studio and is constantly changing.
Clear Plastic Containers
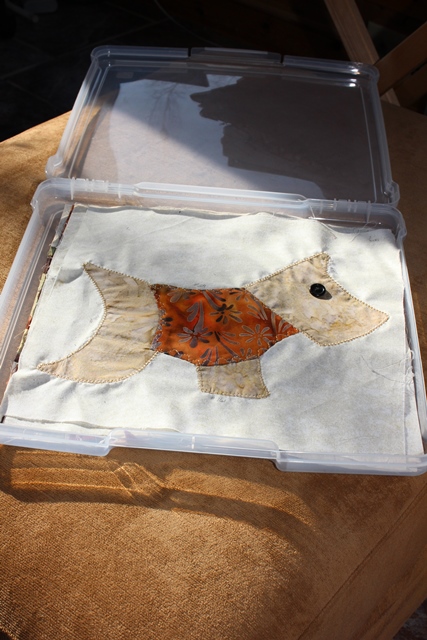
While shopping at a local craft store I found the perfect 9×9 and 12×12 inch plastic containers. They are just the right size for my kits and completed blocks. Another huge plus is that they can be purchased in a rolling cart. Imagine a cart just for kit and completed block storage. The containers are also large enough so you can include the book or pattern you are using as well. If you decide not to purchase the rolling cart, they stack nicely on their own.
Pants Hangers
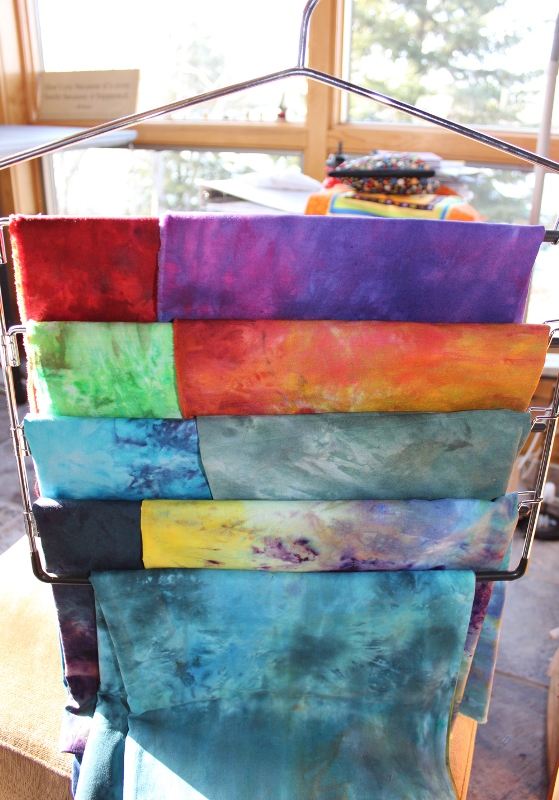
If you have closet space available (what a luxury!), you may consider claiming some for your kits and fabrics. I find pants hangers amazingly useful. I generally will put my kit fabric and pattern into a gallon baggie, and then hang the baggie on a pants hangar (the kind with clips). Sometimes you can hang several baggies on one hangar. I have also used the non-clip hangers for my hand-dyed fabrics and completed quilt tops awaiting quilting. Some of your area discount department stores carry extra-large plastic hangers that work great for quilt tops as well.
These are just a handful of ideas and I’m sure there are more out there! How do you store and organize your kits, projects, and UFOs? Leave us a comment or head on over to Facebook to share your own tips.
Happy quilting!
More in this Series:
Organizing Your Sewing Room Part 1: Thread & Bobbins
Organizing Your Sewing Room Part 2: Fabric
Organizing Your Sewing Room Part 3: Quilting Tools
Related Video:
How to Store Quilting Supplies
Get in touch! Leave a comment or email editor@nationalquilterscircle.com.


Thanks for the awesome tips on the Dollar Store. Quilting is really a wonderful art and way to express your talents. It's also gratifying to keep the history of what my grandmother taught me well over 60 years ago.
I purchased one (and now 2!) LEGAL sized 4-drawer filing cabinets on scratch & dent sales. Each hanging file can hold about 6 different pieces of fabrics. I have each drawer sorted into various colors and/or holidays. I hang them so no fabric touches the bottom of the drawers - only the bottom of the actual files. It is soooo nice now! All I have to do is open the appropriate door and wa la...I can see all the fabric in each color I'm looking for!! I store my scraps in stacking plastic opaque drawers.
I got a bunch of pants hangers from work that were going into the trash, I put all my fabric and pattern for a project in a gallon or 2 gallon bag and hang on the hangers. For my UFO's I like to use the 12x12 plastic boxes and stack on a shelf. I label all my boxes, I use the removable stickers so I can remove when the project is finished.
Thankyou everyone for so many tips and advise. I have a couple of tips, 1 for storing vliesofix, freezer paper and other items with a removable backing, I keep them rolled up and placed into a postage cylinder. I cover mine with old sheet music but you could use any pretty paper or even fabric. I also pop in one of those small sachets of ‘stuff’ that you get in the box when you buy shoes, to absorb moisture. You can also find them in with your vitamins, new handbags etc. Using the sachets in the cylinders helps to stop the backing paper coming away.Tip 2 is using these little sachets in any container that holds metal objects. For example pins, scissors, needles, rotary cutters etc. it helps to keep rust at bay and your tools will last much longer.
I use plastic storage bags, like Elenor Burns sells. They usually hold most of the pieces for a project and stand up nicely. Or I use the 9 x 12 plastic zip bags for smaller projects (available on Amazon) Then I file them in a file cabinet by season. I also use small decorative bags w/handles for fabrics that look great together that I would like to use for a project but haven't found the right project yet! Start with something that will fit on whatever shelving you might already have at least until you find something that really works the easiest for you.
I have a block of the month kit that I have not been able to work on yet. Since I keep getting the blocks each month, I use a magazine box to store them in until I do the chance to make it.
I can't get to "storing your thread and bobbins". The link takes me to this section instead. I tried it 4 times.
Thanks so much for the ideas! For in process projects I use the clear flat plastic zipper bags that bedspreads come in. Since I usually have quilts(!!) I have my friends save them for me! They are square and stay in one place filled with whatever fabrics I am using for the project.
Be careful and consider that exposure to sunlight directly can ruin threads and fabric , guess how I know that!
I buy those beautiful large "Victorian"-style boxes at Joann's (with a coupon) or Tuesday Morning. I then store quilt tops waiting to be quilted and kits in them. I label on the outside what's in each box and they look beautiful stacked up in my sewing room. This is my year to finish as many UFOs as possible.