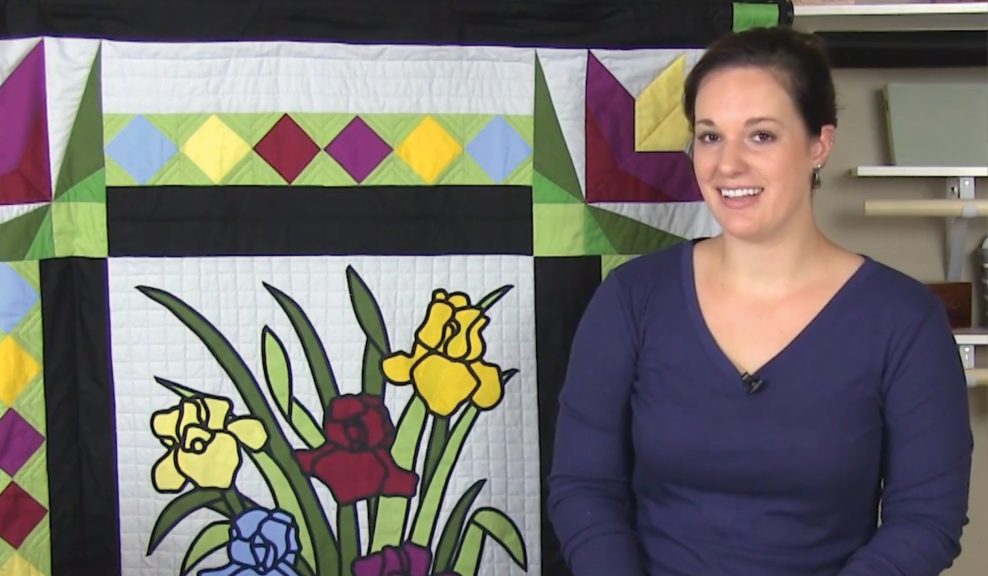
Stained Glass Iris Quilt
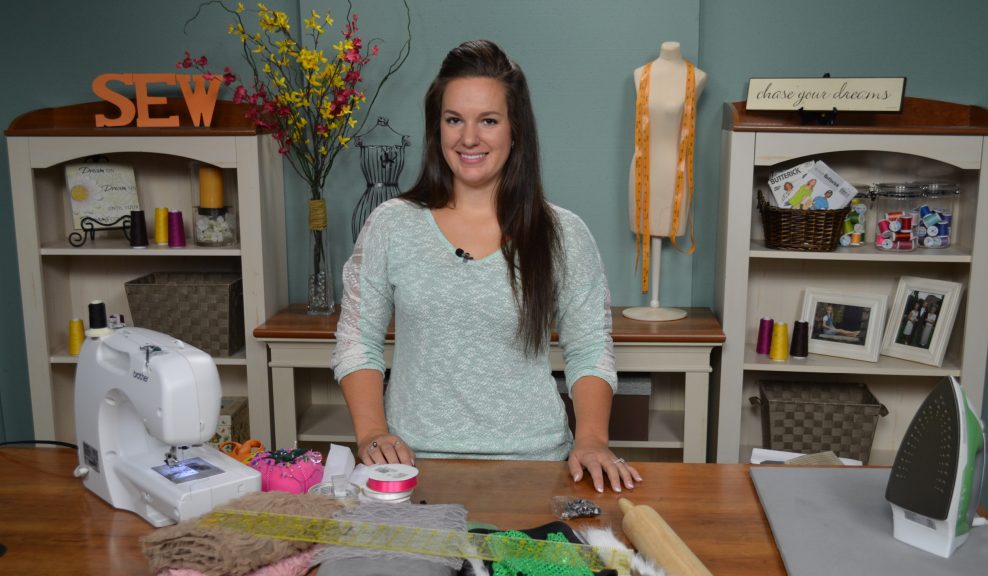
Ashley Hough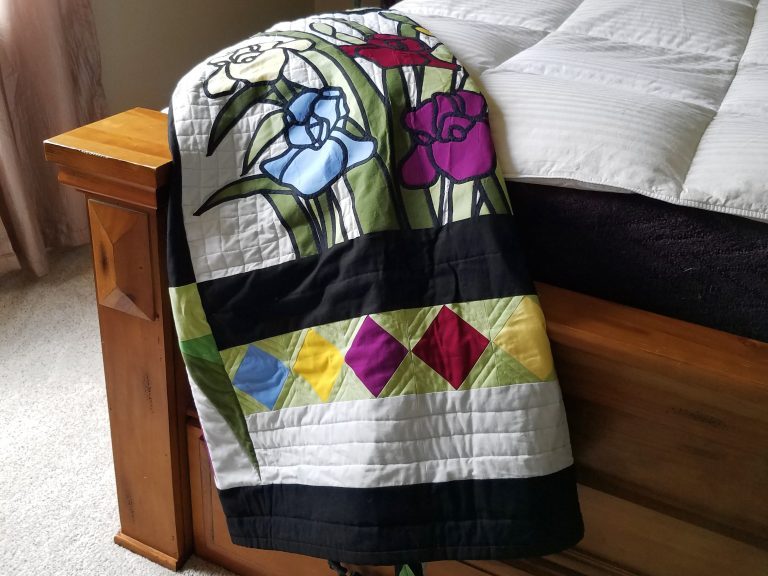
Class Preview
- In-depth Instruction; over 212 mins
- On-demand video access anytime
- Bonus downloadable PDF resources
- Access to class Q&A
Overview, Supplies and Cutting
8:34
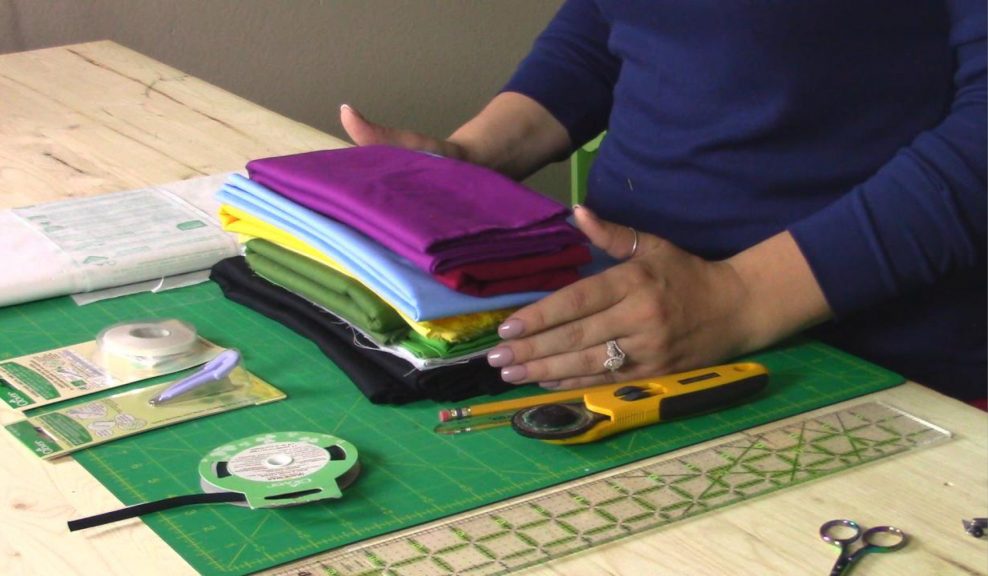
In this lesson, you will receive an overview of the quilt pattern as well as a summary of fabric requirements, supplies, and materials you’ll need to complete this project.
Overview, Supplies and Cutting Q&A
18:15
Ashley Hough discusses the most recent lesson and answers member questions.
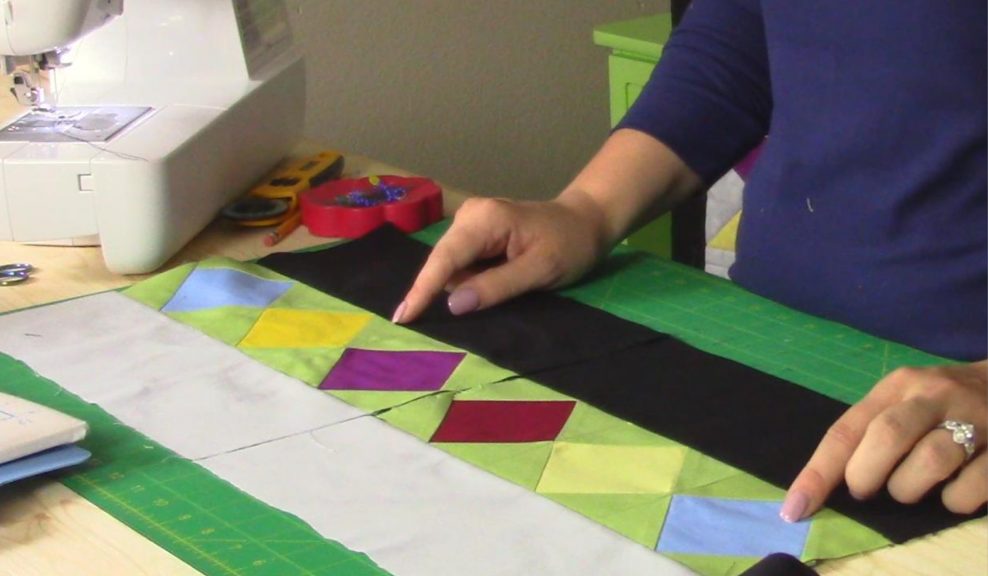
Piecing - Square in a Square Block
35:09
In this lesson, you will begin piecing the diamond border that will frame your center appliqué using the easy square in a square method. Learn how to mark, place, and stitch your pieces to create perfect points on all your squares.
Piecing - Square in a Square Block Q&A
14:11
Ashley Hough discusses the most recent lesson and answers member questions.
Piecing Corner Blocks with Templates
16:38
Ashley Hough discusses the most recent lesson and answers member questions.
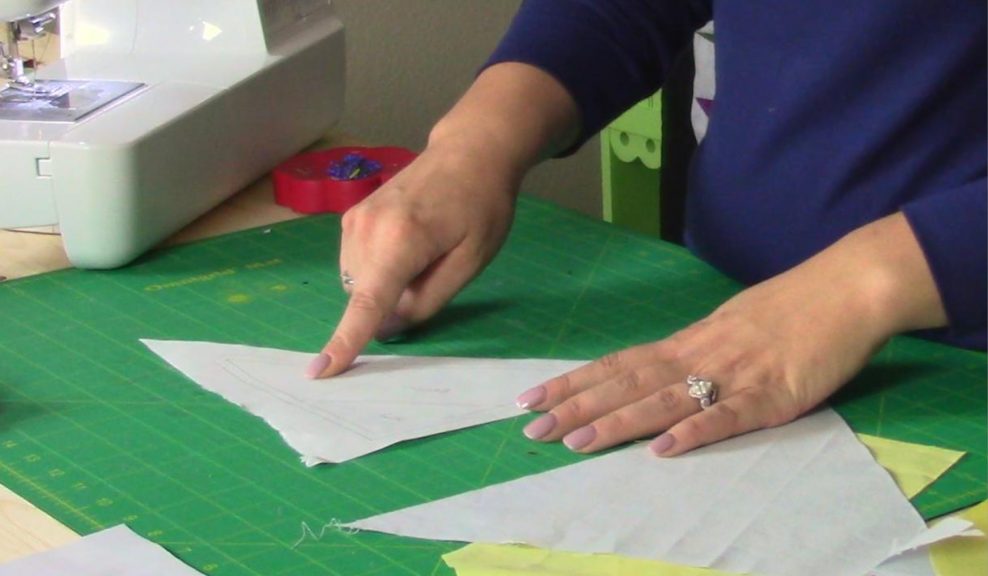
Piecing Corner Blocks with Paper Piecing
29:21
In this lesson, you will learn how to piece the corner blocks using a paper piecing method rather than templates. Piecing with waxed paper does not require you to stitch through the paper and allows you to use your paper pattern more than once.
Piecing Corner Blocks with Paper Piecing Q&A
13:41
Ashley Hough discusses the most recent lesson and answers member questions.
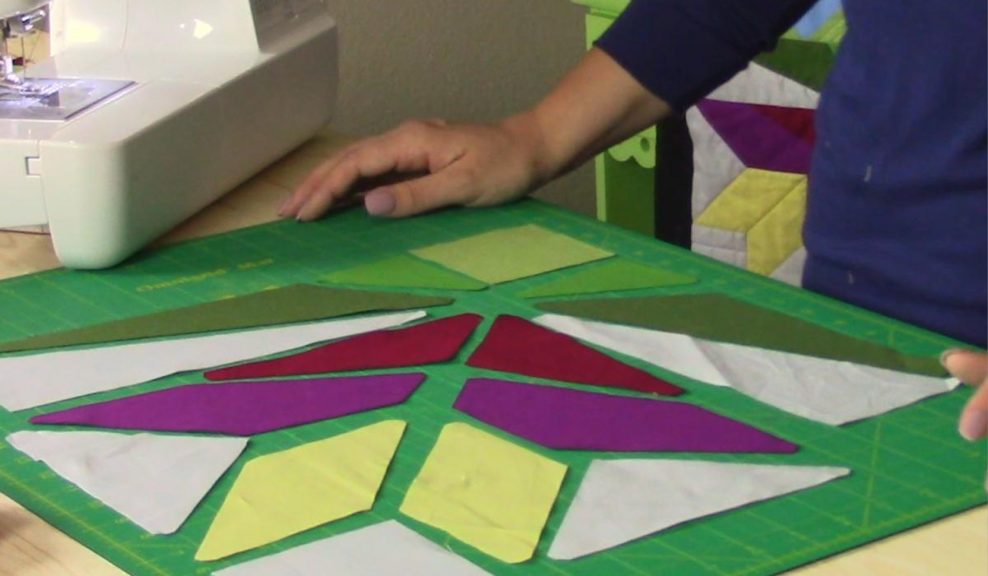
Assembly and Applique
47:51
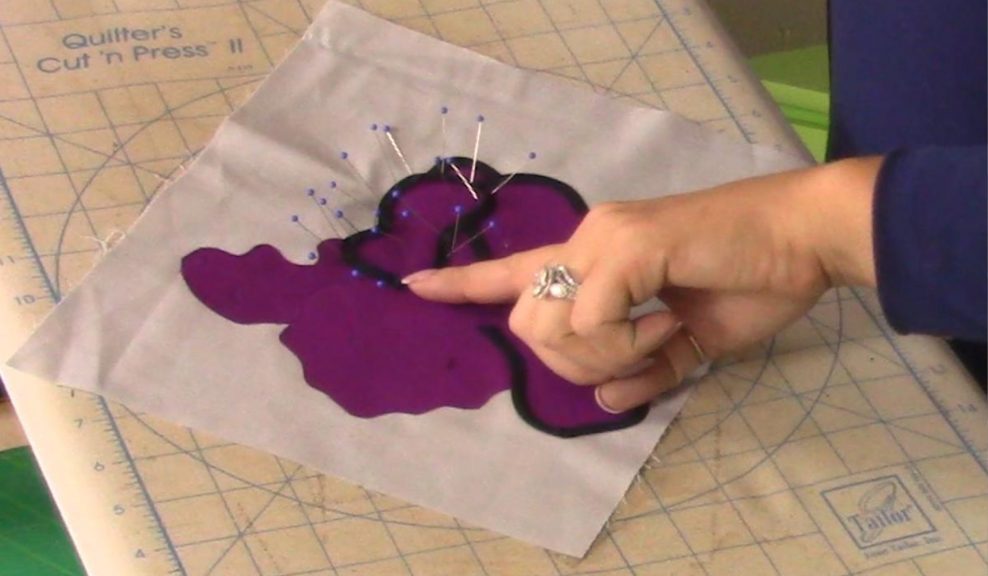
In this lesson, you will attach your corner blocks to the diamond border and begin creating the beautiful center appliqué design. You’ll see how to trace, cut, and place your shapes before finally adding a thin bias tape outline to create the stained glass effect.
Assembly and Applique Q&A
8:30
Ashley Hough discusses the most recent lesson and answers member questions.
Quilting
9:12
In this lesson, you’ll learn a few different finishing options and see how you can stitch your quilt to showcase your center appliqué design. Once you’ve put the final touches on your pattern, you’ll have a stunning stained glass iris quilt to admire. Well done!
Quilting Q&A
10:38
Ashley Hough discusses the most recent lesson and answers member questions.
Description
Combining multiple piecing techniques together into one project can yield a truly stunning result. You’ll use traditional piecing, paper piecing, templates and appliqué to create this stained glass iris quilt, and finish by outlining each piece of your appliqué design with thin bias tape to create the look of a stained glass panel. This quilt uses multiple construction techniques including traditional piecing, paper piecing, templates, and appliqué. You will also learn how to create the illusion of stained glass by outlining all of the appliqué pieces with thin, fusible bias tape. Each of the six lessons, we’ll break down the construction of this quilt step-by-step, beginning with simple cutting and piecing before moving on to more challenging aspects like the iris appliqué. This class will provide you with a great opportunity to improve your skills in all areas of piecing and even try out some fun new techniques.
Ashley Hough
Ashley has sewn for years. Her mother taught her at a very young age. When first starting out, she stuck to mastering commercial patterns before venturing into creating her own. Her patterns have been featured in Sew News, Sew It All, and she has even been on Sew It All TV. Quilting is somewhat new to Ashley, but she dove in head first – coming up with an original design for her first quilt that included curved seams and hand appliqué! She was even lucky enough to have it featured in one of Quilty’s “This is My Quilt” episodes. Ashley loves all things crafty, from sewing to knitting, crochet to quilting, and everything in between. When she isn’t working on a new project or learning a different technique she loves teaching her passion to others.
Bonus materials available after purchase
Explore Classes by Ashley Hough


Gold Membership
$336 Value
Get everything included in Premium plus exclusive Gold Membership benefits.
- 24/7 Access to Premium Quilting Videos, Projects, and Tips
- Step-by-Step Instructional Demos, Patterns, and Tutorials
- 8 Full-Length Video Downloads to Watch Offline
- 3 Full-Length Quilting Classes to Keep for Life
- 2 Printable Quilting Guides
- Discounts on Purchase-to-Own Content in the National Quilters Circle Shop
- Access to Ask the Expert Program
- Exclusive GOLD LIVE Streaming Events